fabritor 在最新版本支持了渐变色填充,可以让文字或背景实现更华丽的效果。在实践过程中发现渐变其实是一件挺有意思(很炫酷)的事情,接下来就展开聊聊前端里关于渐变的那些事。
CSS 渐变
作为前端,说到渐变,最先想到的就是 CSS 渐变了。不过印象中很少手写,一般切页面的时候也很少有这种效果,有也是直接复制 Sketch 导出的 CSS 🤪。
CSS 里的渐变有三类:线性渐变、径向渐变和锥形渐变。直接给丢一段语法和 DEMO 可能有点摸不着头脑。我们可以先看一下维基百科给出的渐变定义:
颜色渐变(有时也叫颜色带)是指一定范围的随之位置而变的颜色,通常用于填充某一个区域。渐变产生的颜色随位置连续变化,产生平滑的颜色过渡。
从概念上看,渐变主要由以下内容组成:
- 随位置变化的颜色,也叫做色标(color stop)。色标由两部分组成,一个是颜色,一个是颜色所在位置。如:
blue 20% 或者 blue 20px。
- 需要渐变色填充的区域,确定渐变的起点和终点,也就是色标前进的方向。
不论是哪种渐变,都是配置以上两部分,通常语法就是 xx-gradient(direction, color stop, color stop ...)。而各类渐变色标部分其实是一致的,那就只要区分确定渐变方向的参数就行了。
线性渐变
比如线性渐变,顾名思义,色标沿着一条直线前进。渐变方向是一条直线,就直接用角度确定渐变方向。
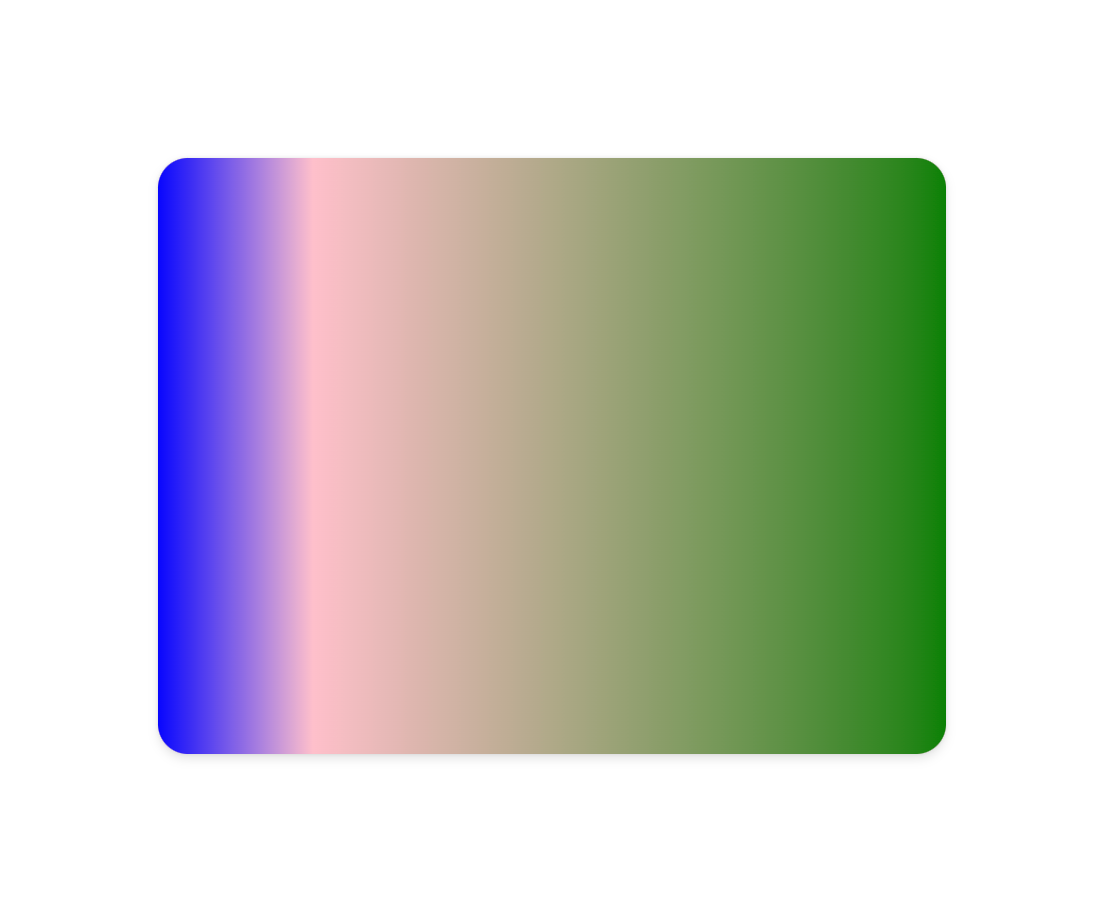
.linear {
  background: linear-gradient(90deg, blue 0, pink 20%, green 100%);
}
上面代码定义了线性渐变,色标以 90deg 方向(从左到右)前进,依次从蓝色、粉色、绿色渐变,并且定义了每个颜色的位置。
效果如图:

在使用角度的时候,0deg 代表渐变方向为从下到上,90deg 代表渐变方向为从左到右,诸如此类正角度都属于顺时针方向。而负角度意味着逆时针方向。

前往 MDN 了解更多关于线性渐变的知识。
径向渐变
径向渐变,色标以圆或者椭圆前进。要确定渐变方向,只需要确定圆或者椭圆的的中心即可。
.radial {
  background: radial-gradient(circle at 50% 50%, blue 0, pink 40%, green 100%);
}
上面代码定义了径向渐变,圆心在元素的中心。

前往 MDN 了解更多关于径向渐变的知识。
锥形渐变
锥形渐变,色标围绕着中心点旋转,每个色标的区域类似一个扇形。和径向渐变一样,需要确定一个中心点。另外,因为是围绕着中心点旋转,还需要确定一个其实旋转角度。
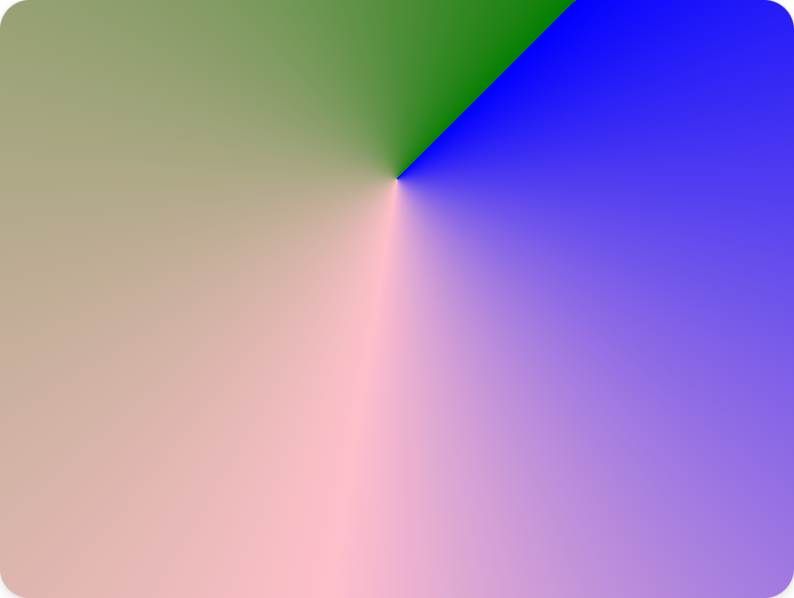
.conic {
  background: conic-gradient(
    from 45deg at 50% 30%,
    blue 0,
    pink 40%,
    green 100%
  );
}
上面代码定义了锥形渐变,中心在元素的 50% 30% 处,从 45deg 开始旋转。

前往 MDN 了解更多关于锥锥形渐变的知识。
CSS 渐变除了单一的设置渐变,还支持更高级的渐变设置,比如可以将多个渐变堆叠起来:
.stacked-linear {
  background: linear-gradient(
      217deg,
      rgba(255, 0, 0, 0.8),
      rgba(255, 0, 0, 0) 70.71%
    ), linear-gradient(127deg, rgba(0, 255, 0, 0.8), rgba(0, 255, 0, 0) 70.71%),
    linear-gradient(336deg, rgba(0, 0, 255, 0.8), rgba(0, 0, 255, 0) 70.71%);
}

更多效果可以前往 MDN 查看。
CSS 渐变的能力十分强大,关键看有没有创意了。🤔
Canvas 渐变
canvas 也是支持渐变色的,支持线性渐变和径向渐变。
Canvas
线性渐变 createLinearGradient(x1, y1, x2, y2),和 CSS 线性渐变使用角度确定方向不同,四个参数分别表示渐变的起点 (x1,y1) 与终点 (x2,y2)。
const lineargradient = ctx.createLinearGradient(0, 0, 150, 150);
径向渐变 createRadialGradient(x1, y1, r1, x2, y2, r2),六个参数分别确定渐变的内圆坐标(x1,y1),内圆半径(r1)以及外圆坐标(x2,y2),外圆半径(r2)。
const radialgradient = ctx.createRadialGradient(75, 75, 0, 75, 75, 100);
确定渐变区域和方向后,就可以给渐变添加色标了:
lineargradient.addColorStop(0, "white");
lineargradient.addColorStop(1, "black");
fabric.js
fabritor 内的渐变基于 fabric.js 实现。
fabric.js 的渐变也就是封装了 Canvas 渐变 API,源码位置https://github.com/fabricjs/fabric.js/blob/5.x/src/gradient.class.js:
var gradient;
if (this.type === 'linear') {
gradient = ctx.createLinearGradient(
coords.x1, coords.y1, coords.x2, coords.y2);
}
else if (this.type === 'radial') {
gradient = ctx.createRadialGradient(
coords.x1, coords.y1, coords.r1, coords.x2, coords.y2, coords.r2);
}
for (i = 0, len = this.colorStops.length; i < len; i++) {
var color = this.colorStops[i].color,
opacity = this.colorStops[i].opacity,
offset = this.colorStops[i].offset;
}
gradient.addColorStop(offset, color);
}
return gradient;
canvas 的渐变色同时支持赋值给 stroke 和 fill 属性:

CSS 文字渐变
不知道你发现了没有,canvas 内是用 fill 属性表示填充,所以不论是形状还是文字,都可以应用渐变色。而 CSS 渐变一般我们用在 background 或者 background-image 属性内,也就是一般用到背景内,文字颜色是用 color 属性设置的,我尝试给 color 属性设置渐变,并不会生效。
那 CSS 要给文字设置渐变色,要怎么做呢?
这里看到一篇文章,How to add a gradient overlay to text with CSS,里面给了一种设置文字渐变色的方法。
background-size: 100%;
background-repeat: repeat;
background-clip: text;
color: transparent;
background-image: linear-gradient(45deg, #f3ec78, #af4261);
关键属性就是 background-clip,设置为 text,将背景裁剪成文字的前景色,这里我们又将文字设置为透明,文字就展示为渐变色了。

作者后面还给出几个更加炫酷的案例,可以前往原文查看。
SVG 渐变
SVG 现在用的越来越多了,大多数图标库都直接提供 SVG 图标了。那如何在 SVG 实现渐变呢,首先想到的就是 SVG 是有 fill 属性的,但很遗憾,直接给fill 属性设置 CSS 渐变也是不生效的,SVG 有自己的渐变语法。
SVG 设置渐变首先需要一段渐变 SVG😂:
<svg style="width:0;height:0;position:absolute;" aria-hidden="true" focusable="false">
  <linearGradient id="my-cool-gradient" x1="0" y1="0" x2="1" y2="1">
    <stop offset="0%" stop-color="#447799" />
    <stop offset="50%" stop-color="#224488" />
    <stop offset="100%" stop-color="#112266" />
  </linearGradient>
</svg>
你会发现,除了语法不一样,和 canvas 里简直是一一对应的。
这时候将 linearGradient 标签对应的 id 赋值给 svg fill 属性即可。
可以 css 设置:
.icon-sprite-gradient {
  fill: url(sprite.svg#my-cool-gradient) red;
}
也可以直接内联 fill 属性设置:
<svg class="icon" fill="url(#my-cool-gradient) #447799;" aria-hidden="true" focusable="false">
  <use xlink:href="#symbol-id"></use>
</svg>
径向渐变语法也和 canvas 一致,这里不再展开,依然可以去 MDN 查看。
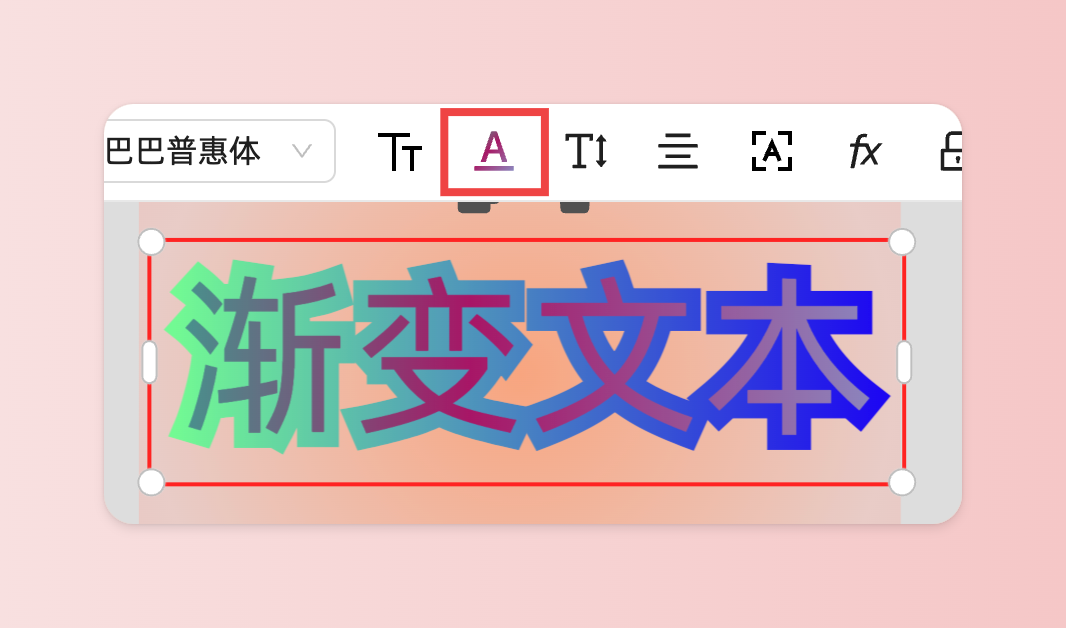
如果你体验过 fabritor,你会发现,文字设置渐变色之后,工具栏的图标也跟随展示为渐变色,就是是用了上述方式实现的。

另外 fabric.js 里,渐变类有个 toSVG 的方法,将 canvas 渐变转换为 svg 渐变。
渐变色选择器:react colors beauty
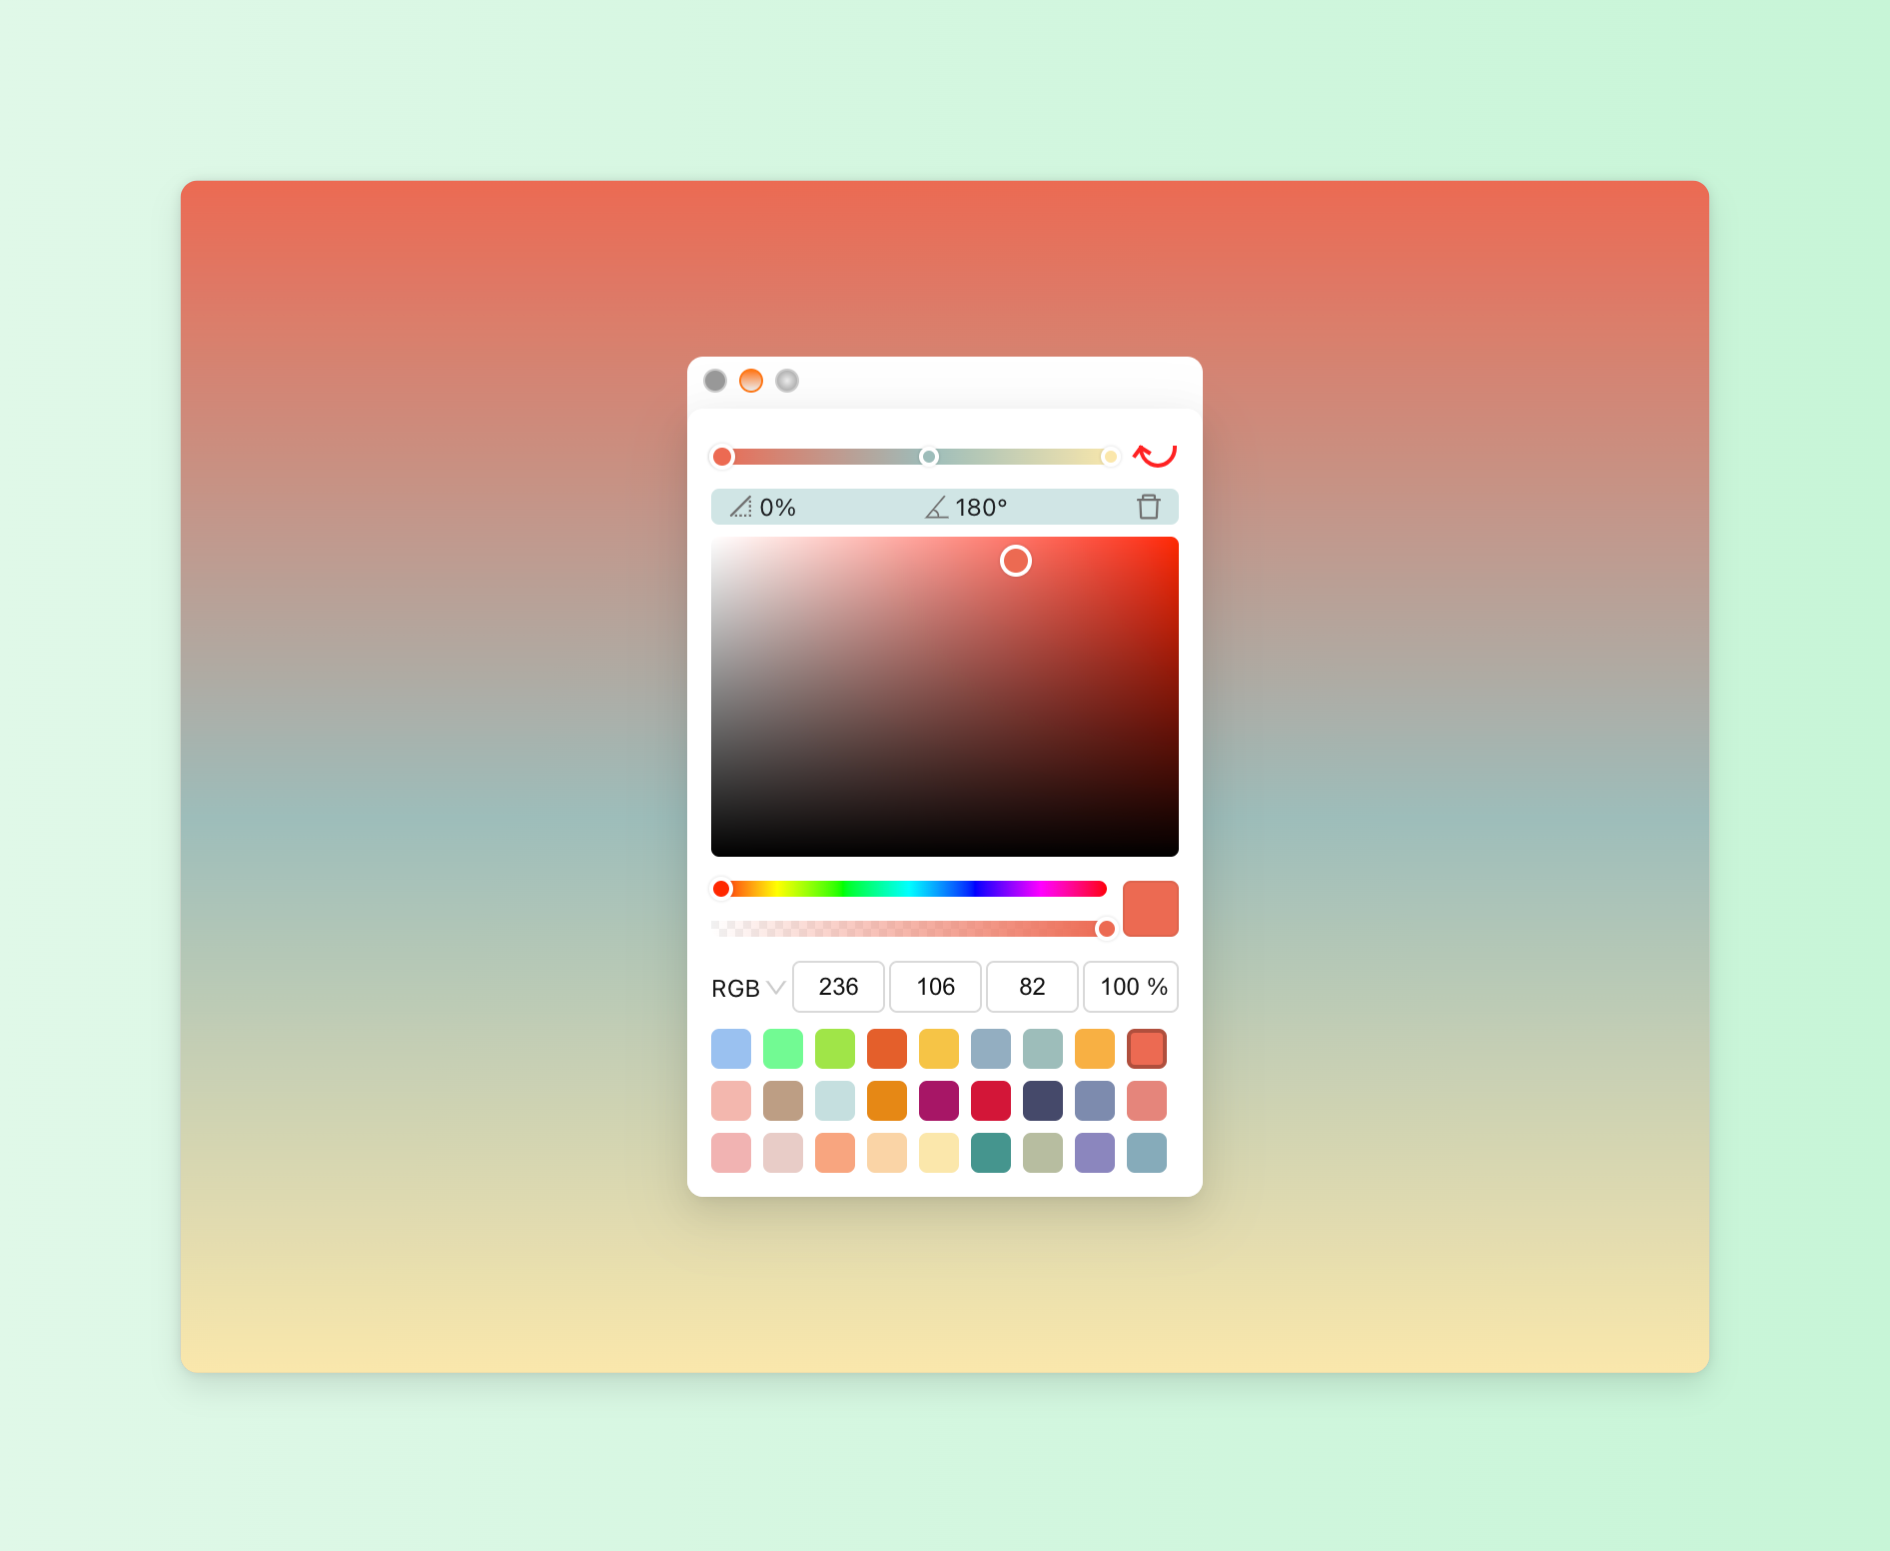
最后,推荐一下我开发的渐变色选择器 https://github.com/sleepy-zone/react-colors,同时支持纯色和渐变色选择(支持色标、线性渐变角度配置),已经在 fabritor 上使用了!

如果你的项目也需要一个渐变色选择器,不妨试一下!


